
Instagram has all the hype these days. With more than 1.07 billion users on Instagram, yes you heard us right, Instagram has become the first-ever social platform to cross the 1 billion threshold in the shortest time span. Celebrities, brands, and even influencers have developed deep roots in this app.
This photo sharing app is all about authenticity. Whether be it brands or influencers, nothing is hidden from the eyes of viewers on Instagram. It showcases nothing but the truth. But how does Instagram do that? The answer is simple, IG posts. The reason for Instagram’s popularity lies in its ability to allow users to post glimpses and highlights of their life. But over the course of the past few months, specifically during the never-ending quarantine period, IG posts have taken a twist.
Today, the Instagram world is all about making your IG post unique and attractive. Whether be it with catchy and enlightening captions, or awareness backgrounds, or just an overall chic get-up, the goal remains the same, which is to become an Instagram sensation.
This whole IG post-stand-out thing is becoming even more challenging amongst influencers. In fact, making your Instagram post stand out from the rest of the 500,000 active IG influencers seems like a never-ending battle. But making an IG post is not the only factor that seals the deal but scheduling it is a whole different paradigm.
Why is it Necessary to Schedule your IG Posts?
A year or two ago, scheduling an Instagram post wasn’t that much important. But now, things are different. Scheduling an Instagram post has become very crucial now. The major reason for doing so is to increase your engagement and your reach to your audience.
Your followers on Instagram are always on the lookout to see what you have lined next up in-store. After all, that is the reason why they are following you! So you need to make sure that you never disappoint them. Consistency is the key in this regard and scheduling your IG post helps you to maintain consistency. It also creates a theme on your Instagram and lets your followers know what to expect on your IG profile.
Another reason why scheduling your IG post is important is because of timing. Instagram has a specific time in which the activity of its users is relatively higher. In short, it’s the time when the traffic on Instagram is high. So, if you want to expand your audience reach, then you need to schedule your IG post at a time when the traffic is high.
That being said, let’s get down to see how you can schedule your IG post. Don’t worry at all because this type of scheduling won’t require you to purchase and maintain a planner. All you have to do is to rely on your trusty pal, SocialBook!
SocialBook Instagram Scheduling Tool:
SocialBook offers a wide variety of free tools to its users. And believe us, these tools are game-changers! You have probably read about the SocialBook Thumbnail Maker in some of our previous blog posts, but did you know that this tool is not only restricted to YouTube? You can also use it to achieve the dream demand of Instagram these days, which is an attractive and scheduled post!
The SocialBook Instagram Scheduler helps you to craft the most catchy and perfect IG post for your Instagram profile. You can choose your favorite template, your optimal texts or visuals, or even your preferred backgrounds that suit the theme of your Instagram profile and guarantee to lure in a handful of new followers.
This tool is user-friendly and simple to use. By following just a series of simple steps, you can design your very own customized and themed IG post and make it the highlight of your Instagram profile. This tool does not take much of your time as well. With the right design in mind, you can craft your dream IG post in just a matter of a few minutes!
Not only does the SocialBook Thumbnail Maker Tool helps you in creating an IG post, but it also schedules it for you. So this tool by SocialBook acts as your personal digital planner which not only creates and designs but also schedules. You can schedule your G post according to any suitable time of your timezone and let SocialBook do the posting.
We know by now you may be thinking that if scheduling a post is that much important, then why don’t we just stick to Facebook and use its inbuilt schedule feature? Well, to answer that question, let’s first take a look at how Facebook scheduling works.
How to Schedule a Post from Facebook:
Scheduling a post on Facebook is pretty simple. The first thing you have to is to create any post that you want on Facebook. After you have successfully created your desired post, scroll down to the publish button but do not click it yet. Next to the publish button, you will see a drop-down menu. Click on it. This menu will include some options including the option of schedule. Click on schedule. Next up, a menu will appear which will allow you to set the date and time for scheduling your post. Just select your prime time and date and click schedule and you’re good to go!
Why Use the SocialBook Tool?
There is a loophole with Facebook scheduling and that is the inability of tagging. Facebook does not allow you to tag anyone or anything on your scheduled post. And what’s an IG post without tagging? For that very reason, the SocialBook Instagram Scheduler also allows its user to tag whoever they want in their scheduled IG post.
Furthermore, the post scheduling option on Facebook only works for business accounts only. It does not support personal accounts. So to schedule a post on Facebook, it becomes mandatory to have a business account.
And lastly, the design feature. The SocialBook Instagram Scheduler allows its users to both schedule and design their IG posts. It provides the users with thousands of design ideas. Facebook, on the other hand, does not have any such feature.
Want to know how to use this tool? Easy peasy! Well, the working of it is the same as the YouTube Thumbnail Maker but for your ease, just follow the steps given below!
Step # 1: Open SocialBook IG Thumbnail Maker
The first you have to do is to go to your SocialBook account and click on the sidebar menu which is present on the left of your screen. After clicking it, scroll down to the section named ‘Free Tools’. You will see a tool over there with the name ‘Thumbnail Maker’. Click on it. The following interface will appear:

Click on the image mentioned with ‘Instagram Post’. This will open the desired IG Thumbnail maker tool and will have the following interface:
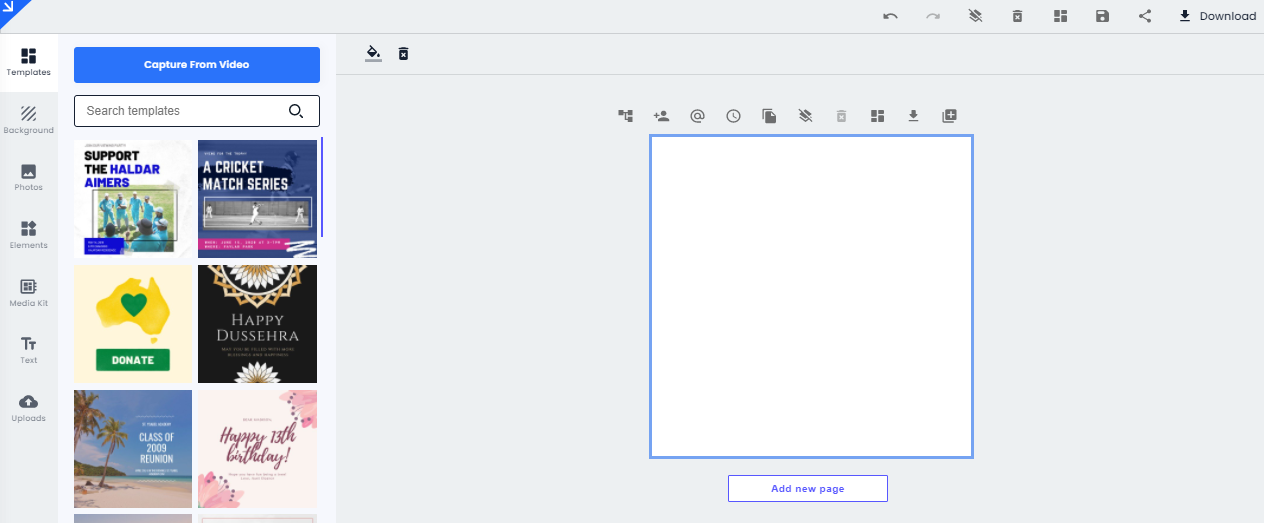
Step # 2: Choose a Template or a Background
After you have successfully opened the tool, the next thing to do is to choose a template or a background. There are a variety of free templates and backgrounds available on the SocialBook Instagram Scheduler. You can choose any thumbnail that appeals to you the most. It is usually preferred to choose a background that is relevant to your IG profile’s theme. You can also edit the background, adjust its brightness, or apply any filter to it.
We are selecting a cooking niche for the sake of reference and therefore we will design the thumbnail accordingly to the baking theme. After carefully analyzing all the backgrounds, we select the following one:
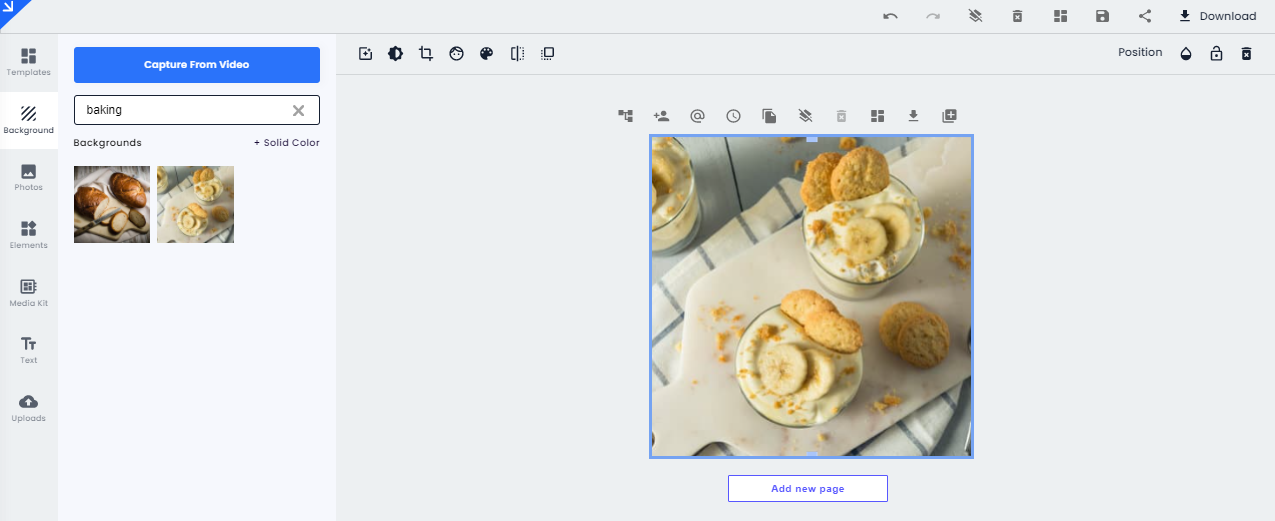
Step # 3: Add a Photo
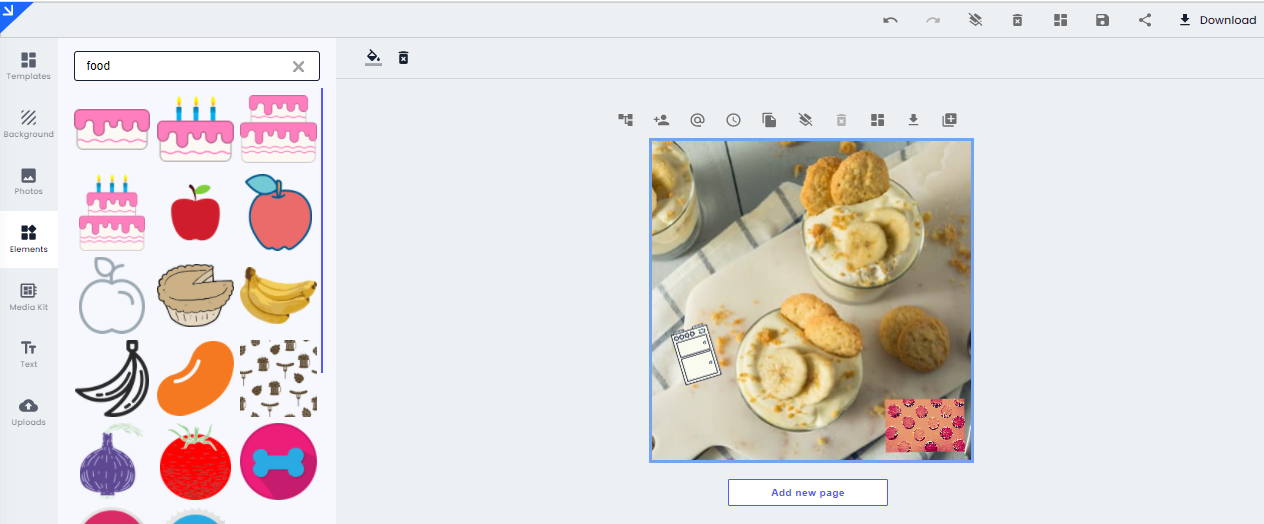
Another creative feature of the SocialBook IG Thumbnail maker is that it also allows users to add any image that they want into their IG post. They can either choose an image from a handful of free images already present in the tool or they can add any image of their own as well. This option of inserting images is present at the menu on the left of the screen. You can also edit the image, adjust its brightness, or apply any filter to it. After selecting our desired image, the interface looks something like the below:
Step # 4: Add an Element
The SocialBook Instagram Scheduler also gives its users to insert any element of their preference in their designed IG post. All you have to do is to select the element option from the menu present on the left and choose the element of your preference from the hundreds of free elements provided by the tool. You can also edit the element to your preference. After selecting the element option and choosing your desired element, the following interface will appear.
Step # 5: Add Text
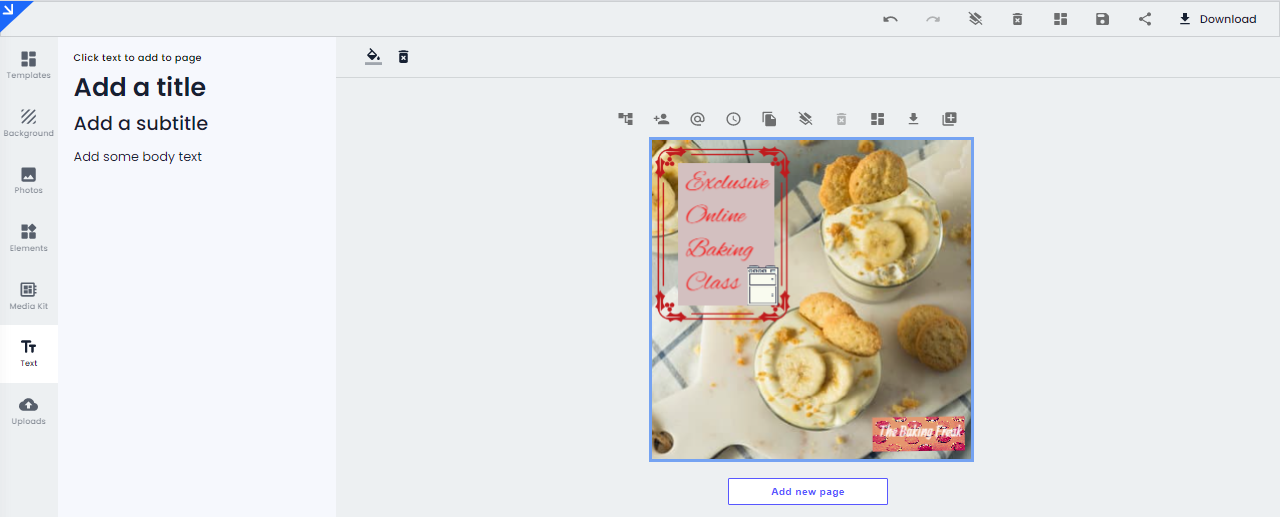
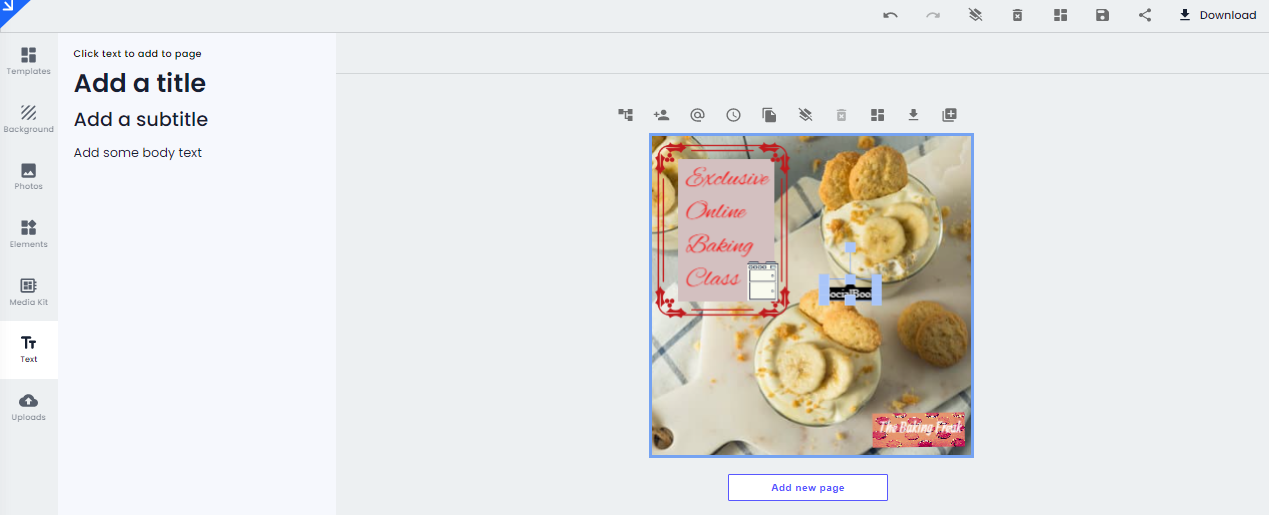
Adding texts to your IG post makes it quite attractive. If you also wish to add text to your IG post, just click on the add text option present on the menu on the left of the screen. You can specify the intensity of the text by choosing the desired headings. You can also make your text appealing by your choosing the font that you prefer and by adjusting its size. After making the text adjustment, your IG post would look something like the below:
Step # 6: Add Tags
The SocialBook Thumbnail Maker has many amazing features but the one that tops it all is the tag feature. This SocialBook tool allows the users to tag people or brands or any other significant IG account. The tagging feature allows the tag to appear on the IG post after it has been posted by schedule. To access the tag feature, take a look at the interface given below:

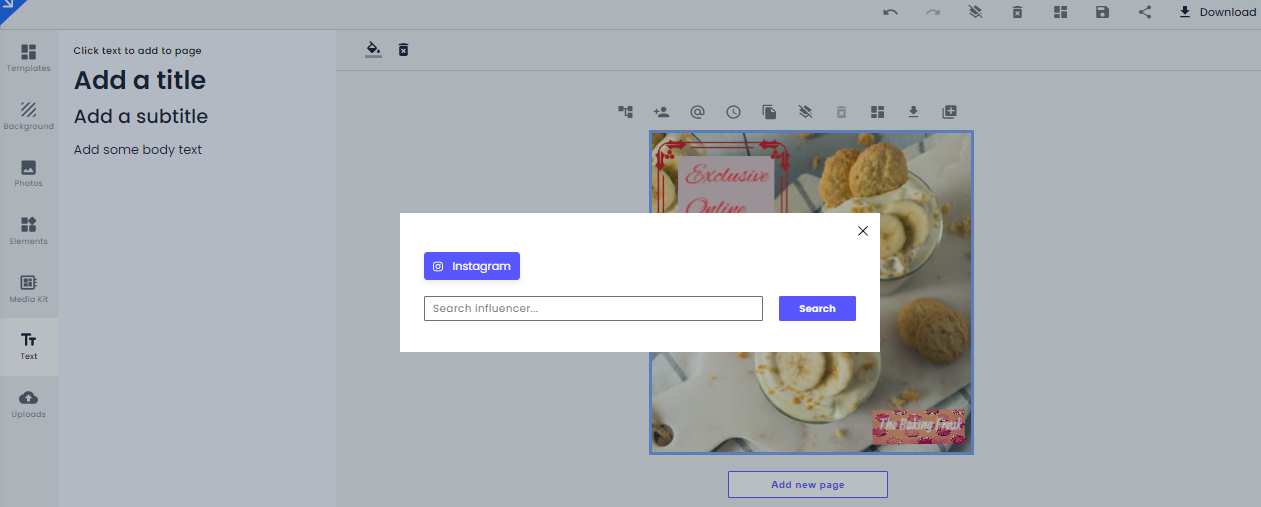
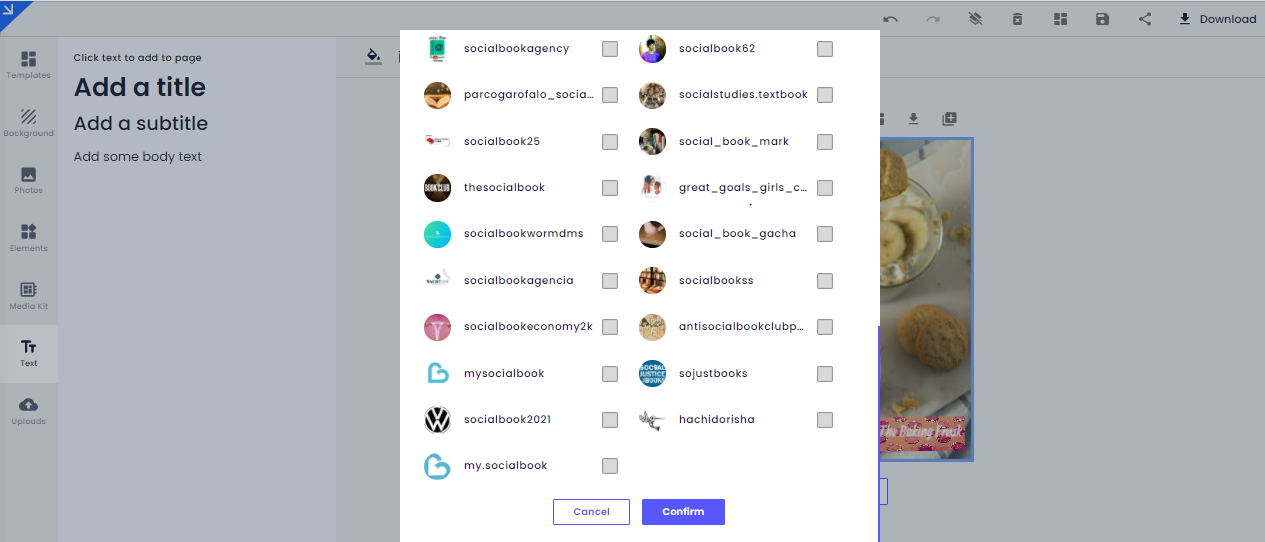
Once you have clicked the tag people option, the following dialogue box will appear in which you will just have to type in the name of the IG profile that you want to mention in the IG post.
Next up, all you have to do is to mention the influencer that you want to tag in this dialogue box. For reference, we will be searching ‘socialbook’ in this dialogue box. The following results will appear. Make sure you select your optimal and the right influencer from the search results.
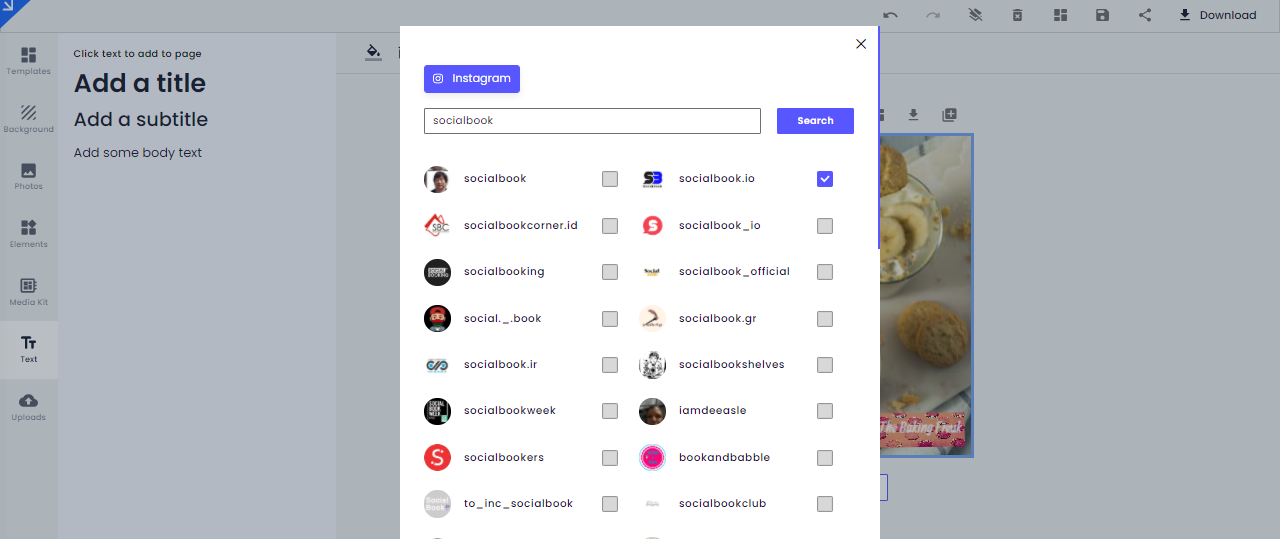
After selecting the right IG profile, scroll down below the results. You will see an option that says ‘Confirm’. Click on it.
The tag will then appear on your IG post. You can move it to any desired location that you find suitable for your IG post.
Step # 7: Schedule the Post
By now, you have covered almost all the steps required to make an IG post. But the most important one remains. This is about scheduling the post. For scheduling the post, just click on the schedule button as shown below:
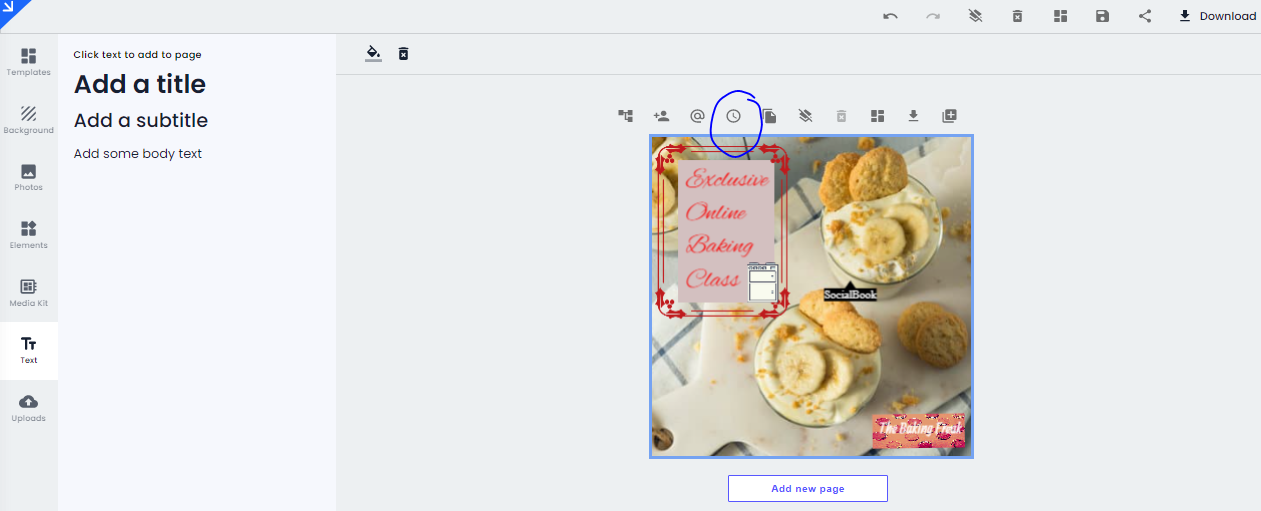
After clicking this schedule icon, the following menu will appear on the right side of your screen:
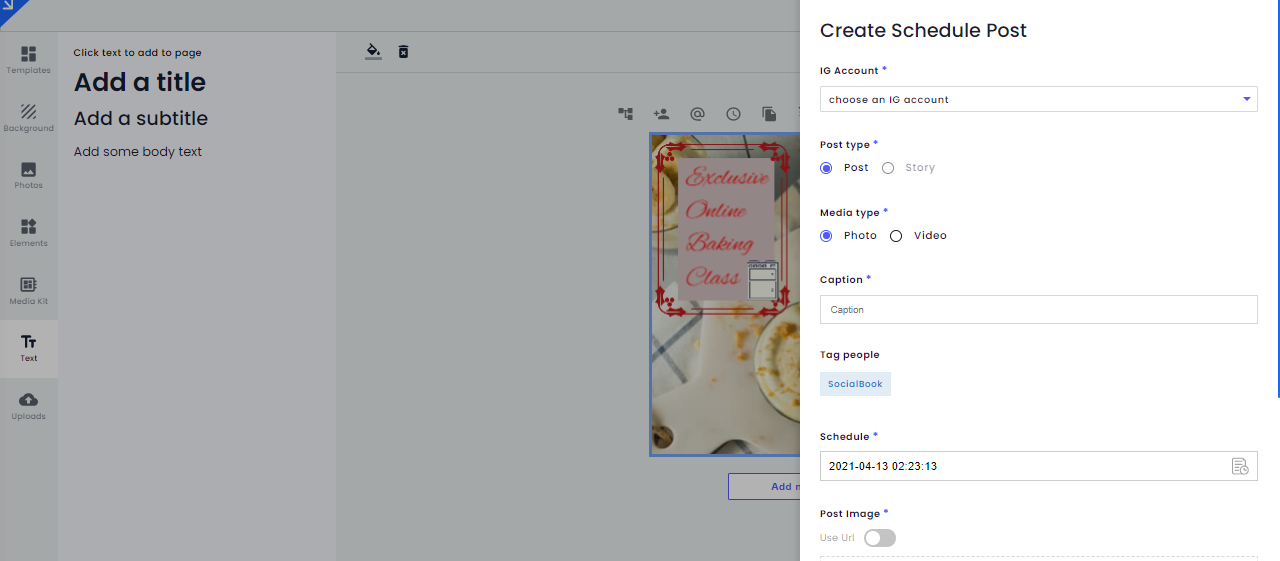
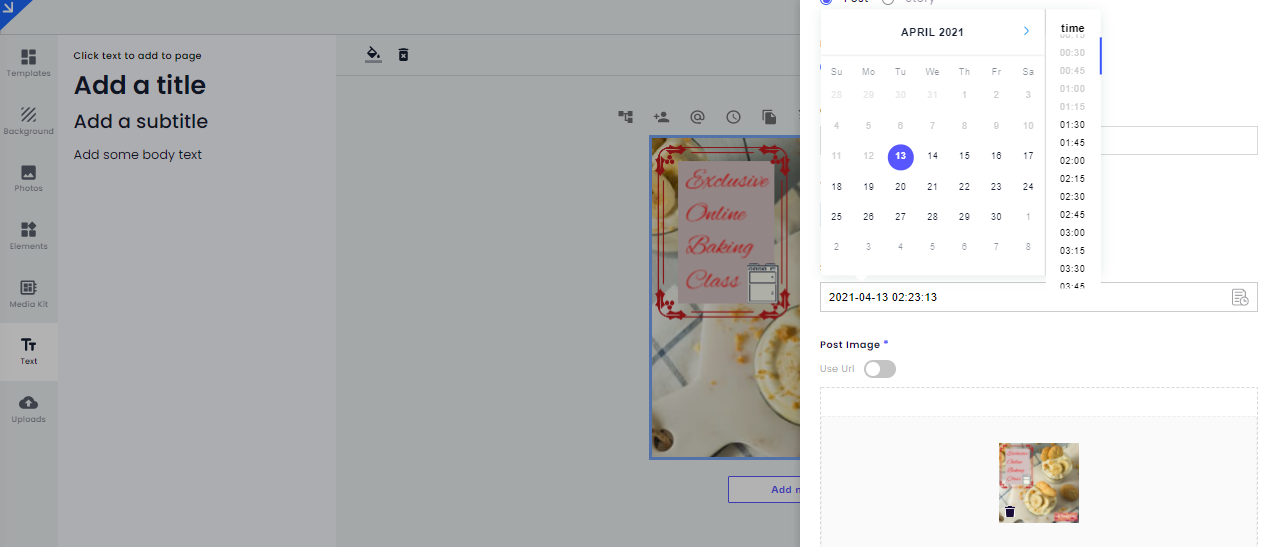
Now you need to fill this menu up. Firstly, you have to add the IG account onto which you want to post your designed IG post. Next up, you have to decide whether you want to post this designed IG post on the Instagram story or on the Instagram profile. Next, you have to write a catchy caption in the caption box which is relevant to your designed IG post. And finally, you have to schedule the post. You can select any date of any month and a specific time at which you want your post to be posted. The interface of the scheduling looks like something like the below:
After that, all you have to do is to click on the blue button present on the bottom that says ‘Submit’ and you’re all set to go!
So that was all about the SocialBook Instagram Scheduler We hope you found this article helpful!