
Please see this article for how to find the Create Thumbnail feature:
 SocialBook Support
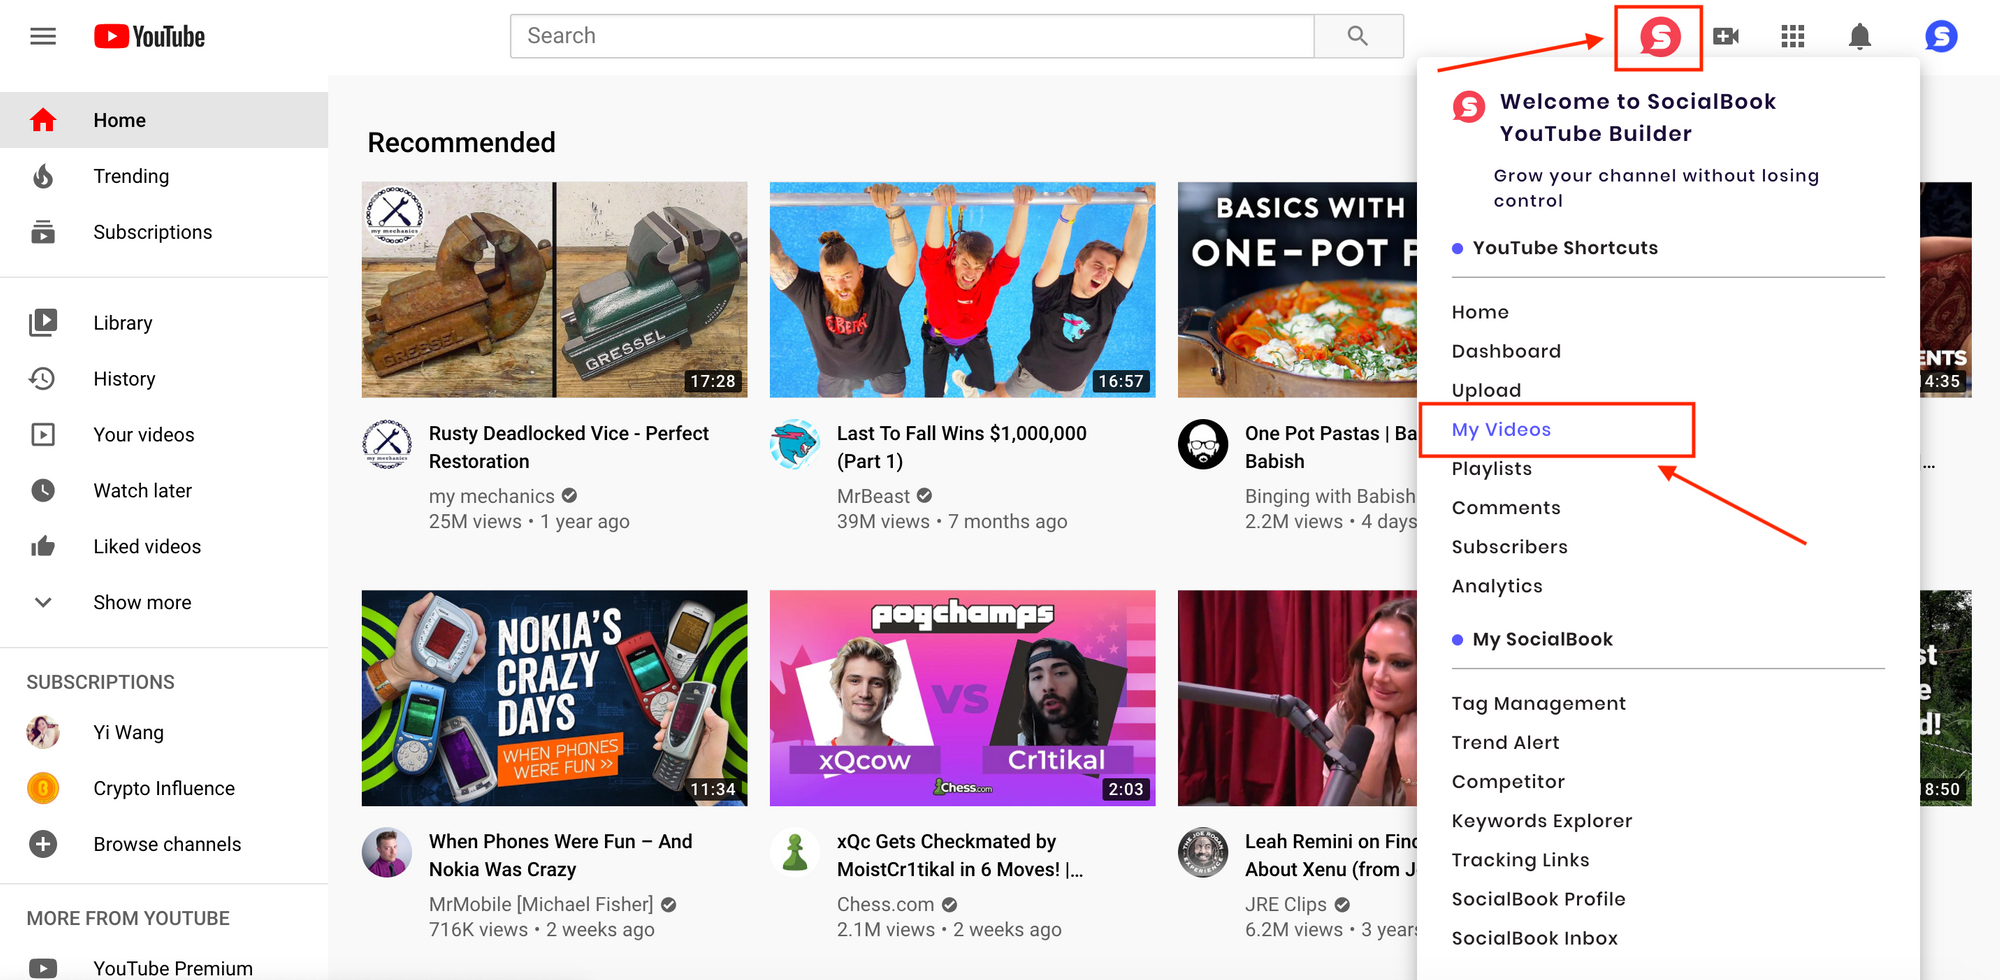
Click on Create Thumbnail, you enter the thumbnail editing interface.
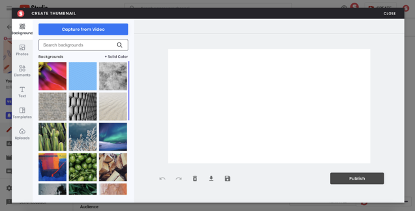
1. Change Thumbnail Background:
The Background panel can be used to make backgrounds from pictures or a single color.
a. If you only want to use a single-color background, first click on the white frame, then click on the color icon on the top left, and select the color.
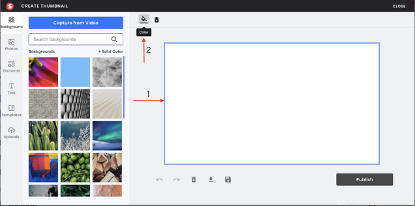
You can move the mouse around to find the suitable color to your liking, or you can input numbers into the parameter to get the same result.
b. You can also select a background photo from the gallery on the left, or you can search for a particular picture in the search bar, such as “flower”.
2. Explore Free-to-use Photos:
The Photo menu can be used to insert photos from the gallery.
You can find the picture you want using the search bar, move the picture around and adjust its size with your mouse.

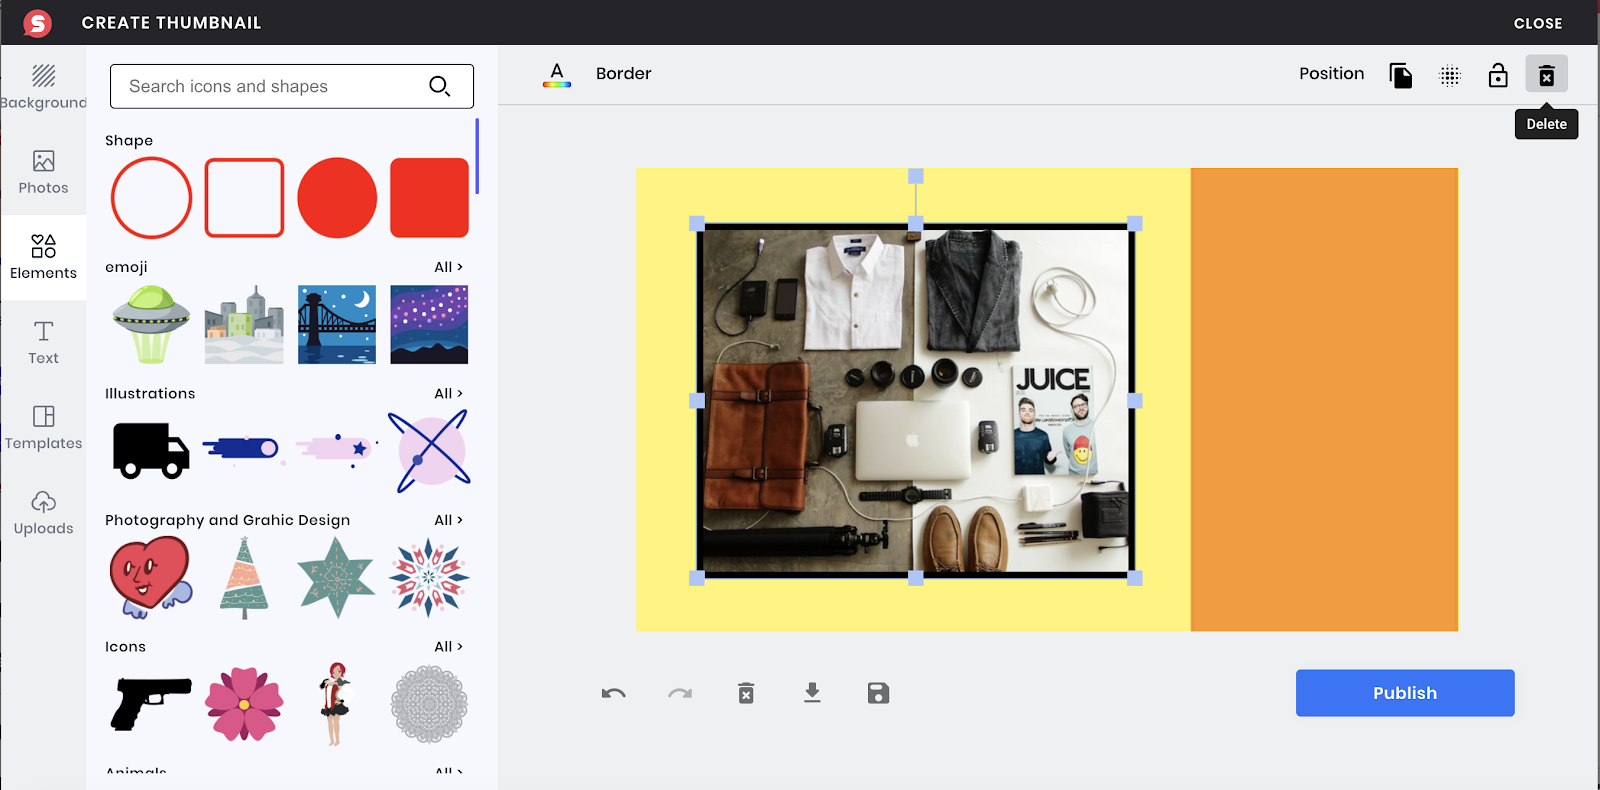
3. Add Free-to-use Elements:
The Elements panel can be used to insert various elements into your thumbnail.
Choose different kinds of elements that is applicable, drag it around and adjust its size with your mouse.
Click on the ‘A’ to change the element’s color.

Click on ‘Border’, and you can manage its thickness.

About the functional bar on the top right
a. Position: to change the position of any selected element. Click on it to adjust its position. For example, aligning it right.

b. Copy: to copy the photo or element. For example, we can use this button when we and two copies of an orange square.

c. Transparency: to change the photo’s transparency. Number means the transparency number, for example, 50 means 50% transparent.

d. Lock: to lock a certain element. Stopping it from being moved around and adjusted, click on the lock button, such as locking this orange square.

After locking, the icon becomes unlock, and all the other icons are hidden.

e. Delete: to delete the elements you want. For example, deleting this black frame.
4. Type Texts:
Using this text button, you can add in titles, subtitles, and texts.
Chose the fonts for the texts and utilize the tool bar for editing the text’s size, color, Align, italic, and bold.

The Spacing function can not only control the line spacing , but also distance between letters.

Introduction for the tool bar below
They are undo, redo, delete layers, download photo, save template.
What is worth mentioning is the save template function, after saving successfully, you can find your own templates in the upload section for latter use.

5. Explore Free-to-use Templates
Click on the template icon on the left and choose a template.
There are a large number of beautiful templates provided in this panel, choose the favorite temple, and edit it to your liking.

6. Upload Your Own Elements
The Uploads function allows you to upload photos or templates.
Click on uploading an image and chose the image you want to upload.

Or you can insert a uploaded image into the thumbnail.

Click templates inside the panel to import saved templates.